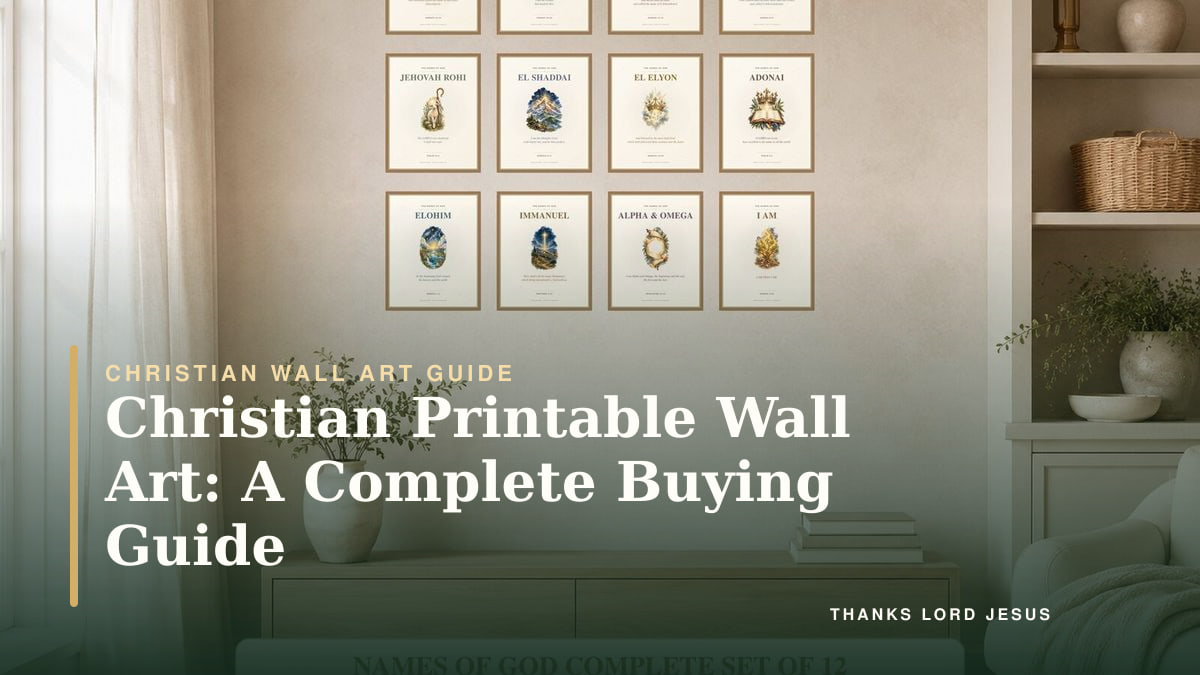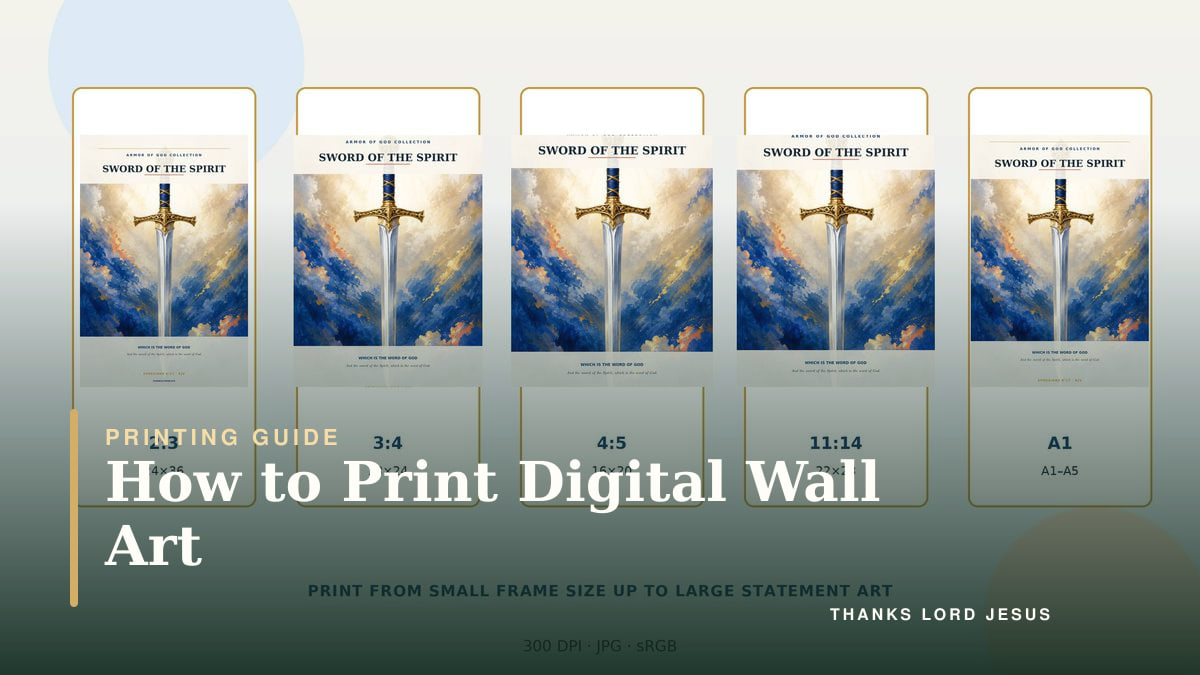
A practical, step-by-step guide to file ratios, pixels, paper, printer settings, professional services, trimming, and framing digital wall art.
Digital wall art gives you the freedom to choose your own print size, paper, frame, and local printing method. Once downloaded, the same design can often be printed in several sizes for personal use—provided the license allows it and you select the correct file for the frame.
The process is straightforward, but two details cause most disappointing results: using the wrong aspect ratio and allowing the print dialog to crop or stretch the image. This guide explains both, then walks through reliable home and professional printing methods.
Always begin with the instructions included with your purchase. The exact files, maximum sizes, color profiles, and license terms vary by shop and product. The tables below are general guides, not a promise that every download contains every ratio.
Key takeaways
- Match the aspect ratio of the file to the intended print size; do not stretch the design.
- Check pixel dimensions before ordering a large print. Around 300 pixels per inch (ppi) is an excellent target for close-viewed art, though many designs can look good at lower effective ppi when viewed from farther away.
- Use matte heavyweight paper for a soft art-print finish or photo paper for greater contrast and sheen.
- In the print dialog, verify paper size, orientation, scaling, quality, and borderless settings before printing.
- “Fit” may add white borders; “fill” may crop the design. Preview both rather than accepting an automatic setting.
- Print one inexpensive test before ordering a large size or multiple copies.
Step 1: Download and organize the files
After purchase, download the product files to a computer when possible. Mobile devices sometimes hide ZIP downloads or open only a low-resolution preview. If the files arrive in a ZIP archive, extract it first; do not send the ZIP itself to a printer.
Step 2: Understand aspect ratios before choosing a size
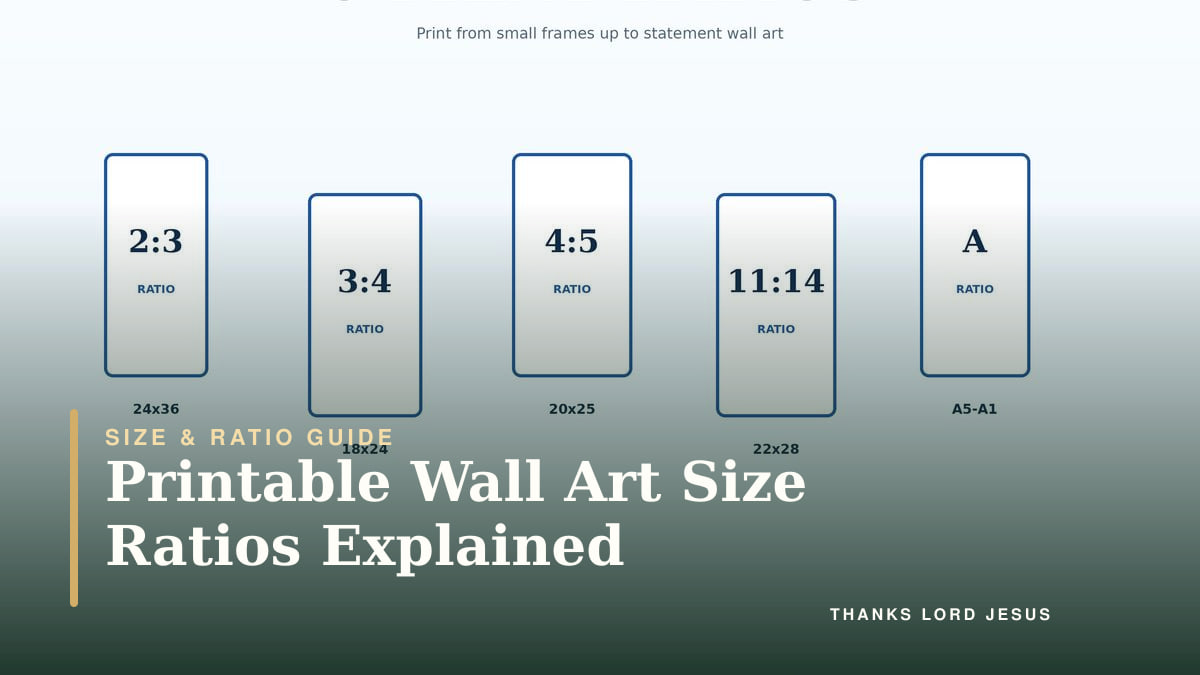
An aspect ratio describes the proportional relationship between width and height. An 8 × 12-inch print and a 20 × 30-inch print are both 2:3 because each reduces to the same proportion. A 16 × 20-inch print is 4:5. Although these sizes are all rectangular, they are not interchangeable without cropping or borders.
Here are common portrait wall-art families:
| File ratio | Common matching print sizes |
|---|---|
| 2:3 | 4×6, 6×9, 8×12, 10×15, 12×18, 16×24, 20×30, 24×36 in |
| 3:4 | 6×8, 9×12, 12×16, 15×20, 18×24 in |
| 4:5 | 4×5, 8×10, 12×15, 16×20, 20×25, 24×30 in |
| 5:7 | 5×7, 10×14, 15×21, 20×28 in |
| 11:14 | 11×14, 22×28 in |
The ISO A-series uses a different proportion—approximately 1:1.414, based on the square root of two. Each size halves into the next while preserving the ratio:
| A-series size | Exact dimensions |
|---|---|
| A5 | 148 × 210 mm |
| A4 | 210 × 297 mm |
| A3 | 297 × 420 mm |
| A2 | 420 × 594 mm |
| A1 | 594 × 841 mm |
What if the frame and file ratios do not match?
You have three safe choices:
- Choose another included file whose ratio matches the frame.
- Crop intentionally, keeping important text and artwork inside the final boundaries.
- Print the whole image with borders and use a mat to fill the frame.
Do not unlock proportions and drag one side of the image until it fits. Stretching distorts typography, circles, animals, and other artwork.
Step 3: Check whether the file has enough pixels
Pixel dimensions determine how much image information a raster file contains. For a target of 300 ppi, multiply each print dimension in inches by 300:
print width in inches × 300 = required pixel width
print height in inches × 300 = required pixel height
Examples:
- 8 × 10 inches at 300 ppi requires 2400 × 3000 pixels.
- 12 × 18 inches at 300 ppi requires 3600 × 5400 pixels.
- 20 × 30 inches at 300 ppi requires 6000 × 9000 pixels.
Step 4: Choose the right paper
Paper changes the appearance almost as much as the printer. These are useful starting points:
- Matte presentation or archival matte paper: low glare, soft color, and an art-print feel. A strong all-round choice for Scripture typography and watercolor illustrations.
- Luster or satin photo paper: more contrast and color depth than matte, with less reflection than glossy.
Check the printer manual for maximum paper weight and supported media. Heavier is not automatically better if the printer cannot feed it reliably. Feed specialty paper through the manufacturer-recommended tray, and print on the coated side when only one side is printable.
Step 5: Prepare a home printer correctly
Home printing works best for smaller sizes such as 5 × 7, 8 × 10, US Letter, or A4, depending on the printer. Before using premium paper:
- Check ink levels and replace genuinely depleted cartridges.
- Run a nozzle check if the printer has been unused or colors show gaps.
- Clean or align the print head only as the printer instructions recommend.
- Confirm the printable side and load one sheet correctly.
- Keep the original art file in its usual sRGB color space unless the printer workflow specifically requires something else.
Step 6: Use the print dialog without accidental cropping
Open the actual high-resolution file, choose Print, and verify each setting:
- Printer and paper size: select the paper actually loaded.
- Orientation: portrait or landscape must match the design.
- Media or paper type: choose the closest accurate option, such as matte or photo paper. This affects ink application.
- Quality: select high or best quality for final art; standard quality is fine for an alignment test.
- Scale: use 100% or “actual size” when the file is already prepared for the chosen paper size.
- Fit: keeps the whole image but may add margins if the ratios differ.
- Fill: covers the paper but crops edges if the ratios differ.
- Borderless: use only if the printer supports borderless output for that exact paper size. Borderless modes commonly enlarge the image slightly, so expect a small edge crop.
The thumbnail preview is not decoration—it is your final checkpoint. Look for cut-off text, uneven borders, unexpected rotation, or a design that extends beyond the printable area.
Step 7: Print, dry, and trim
Print one test on ordinary paper to confirm size and placement. Then print the final version on the chosen art paper.
Step 8: Check permission before using a professional printer
A professional printer may help with sizes your home printer cannot handle. Before sending or uploading a purchased file, check the applicable product license and the provider's terms. Permission to print for personal use or give a finished physical gift does not automatically permit transferring digital files or granting a provider wider rights. If the required transfer is not expressly permitted, contact TLJ before sending the file. Do not create a public product listing, sell copies, or share the download link.
Compare the intended print size, paper, proofing help, total cost, and delivery estimate before ordering. Keep the original file unchanged and check that the verse and reference remain visible in the proof.
Check the finished print before framing or gifting it
Lay the dry print on a clean surface and compare it with the original purchased file. Check the verse and reference first, then the edges, visible detail and paper condition. Finally, place the mat over it without sealing the frame. A print can look correct on its own while the mat hides the last line.
| What to inspect | What to record | What to do if it needs attention |
|---|---|---|
| Wording and reference | Any clipped letter, missing line or obscured reference | Compare with the original file and the crop preview before making another print. |
| Edges and borders | Which edge is lost or uneven | Check the intended layout and whether the frame or mat covers important content. |
| Detail and surface | Visible blur, bands, marks or damage | Keep the first print as a comparison sample; change one setting or material at a time when troubleshooting. |
| Framed view | Readability and reflections from the expected viewing position | Try the position and lighting before committing to the display. |
Use the Finished Print Check Sheet to record the file, size, visible issue and next step. It is a free worksheet, not artwork, and it does not change the license supplied with your purchase. For a gift, complete the check before wrapping; do not promise a finished date until the actual print and frame are ready.
Inspect the design you actually bought, not a generic sample. Use the ratio guide if a crop problem needs resolving.
Common printing problems and quick fixes
The text is cut off
The file and selected paper probably have different ratios, or borderless expansion is active. Choose the matching ratio, select “fit,” reduce borderless expansion if the driver permits, or use a larger sheet and trim.
The image looks blurry
Confirm that you printed the original download, not a thumbnail or screenshot. Check pixel dimensions against the intended print size. Also verify that the software did not enable an extreme enlargement.
Ready to print something meaningful?
Browse our Christian printable collections to find Scripture art for prayer rooms, family spaces, children’s rooms, and thoughtful gifts. Product instructions identify what is included; always choose the matching file before printing.
For downloadable artwork you can print on your schedule, Explore all collections. Download the original files, make one careful test, and enjoy turning a digital design into a framed reminder of God’s Word.
Frequently asked questions
Questions about this topic
Can I print digital wall art at home?+
Usually, yes. Check the listing and included instructions for permitted personal use, file type, ratios, and maximum size. Home printers are most convenient for smaller formats; a print service is often better for large pieces.
Is 300 ppi required for every print?+
No, but it is an excellent target for close-viewed, detailed artwork. Large wall art can sometimes be printed below 300 ppi because it is viewed farther away. Never assume, however: fine typography and line art reveal low resolution sooner than soft painterly images.
Can I resize one file to every frame?+
Only within the same aspect ratio, and only while the file retains enough resolution. A 2:3 file scales proportionally to 8 × 12 or 20 × 30, but it does not fit 8 × 10 without cropping or borders.
Scripture for your space